Introduction
Butchering chickens is an age-old practice that has gained renewed interest among consumers who seek fresher, sustainable, and cost-effective food sources. People often choose to raise and butcher their own chickens for various reasons, with the primary motivation being the desire for fresh poultry and knowing what was, and was not, given to them. Home-raised chickens can provide superior taste and quality compared to store-bought varieties, as they are harvested at the peak of freshness. The first time I ate one of my chickens, it was the best chicken breast I ever had! It didn’t even need seasoning, the meat just tasted good. It was unlike any chicken meat I had ever eaten that was generally bland and boring without extensive seasoning or marinade.
Moreover, butchering chickens can be a financially motivated decision. Raising chickens at home, although it requires some initial investment, may lead to substantial savings over time, especially for families that consume chicken regularly. With a consistent supply of meat, some individuals find themselves less reliant on commercial suppliers, allowing for greater control over their food choices and reducing grocery expenses.
Preparing for Butchering: Tools and Setup
Butchering chickens is a process that requires careful preparation and the right tools to ensure a successful outcome. Central to this process is the chicken plucker, an essential piece of equipment designed to remove feathers efficiently. There are two main types of chicken pluckers available: hand-operated and motorized. Hand-operated pluckers are typically more affordable and ideal for small-scale operations, although we have had terrible experience with them. Motorized pluckers can handle larger quantities and improve efficiency but require the correct steps to be followed to avoid damaging the bird.
Creating a safe and efficient workspace is crucial in the butchering process. Select an area that is clean, well-ventilated, and has easy access to water for sanitation purposes. Set up your equipment in an organized manner to streamline your workflow similar to an assembly line. For instance, position the scalding tank near the plucker, ensuring that you can transfer birds quickly and easily without unnecessary movement. This organization minimizes the risk of accidents and allows for a smoother butchering process.
The Step-by-Step Butchering Process
Butchering a chicken requires a systematic approach. The process begins with proper preparation. It is essential to verify that the area is clean and that all equipment is sanitized to avoid contamination.
The next step involves the slaughtering of the chicken. This is typically achieved using a specialized killing cone which keeps the chicken contained while allowing access to the head. Grasp the head and pull down to get clear access to the neck. Using a slicing motion, cut the neck to sever the jugular vein and allow it to hang for a few minutes to ensure thorough bleeding. After this time, you can complete the decapitation. A pair of garden loppers work great for this as you will need to cut through the spine.
After bleeding, the chicken is ready for plucking, which can be done manually or with the aid of a chicken plucker. If using a plucker, the chicken should be submerged in hot water (approximately 150-160F) for about 60 seconds. This loosens the feathers, making the plucking process much more efficient. To test if the bird is ready for the plucker, try to pull the largest feathers. If they do not come out with minimal force, the bird is not ready.
With the chicken plucker on, place the bird inside. Be sure to keep water running over the bird at all times during this part. A dried bird will get beat up by the rubber fingers and lead to a mutilated product. Ask me how I know! The water acts as a lubricant to keep the fingers sliding across the bird’s skin while also rinsing the feathers out of the drum. After a short time, the feathers should be gone, although a few stubborn ones may require manual removal.
After plucking, it is important to clean the chicken thoroughly. This involves removing the innards. First is the crop which is removed by sliding it up toward the neck. Once it is fully removed, simply cut the esophagus that is holding it in place and discard the crop. Next, between the anus and the lower tip of the breast bone, there is a patch of loose skin. Pinch this between your fingers and carefully slice through it. This should be done slowly to maintain control of the knife and ensure no bowels are sliced. Once you have created a hole accessing the body cavity, use your fingers to tear open the hole wide enough to fit several fingers. You will then tear the hole as wide as you can to have full access to the innards. At this point, you will have to reach your hand inside and begin pulling everything out. The goal is to get the organs out without busting them open so take your time. Practice will lead to better and faster results. Lastly, the only thing left holding the guts is the anus. Simply cut down along the sides of the anus and then cut sideways to join your two cuts, removing the entire anus and releasing the bowels from the bird. An additional (optional) step is tail removal. The tail contains the preening gland and is easy to remove with loppers and a knife. Removing only the gland is a little more tedious but can be done.
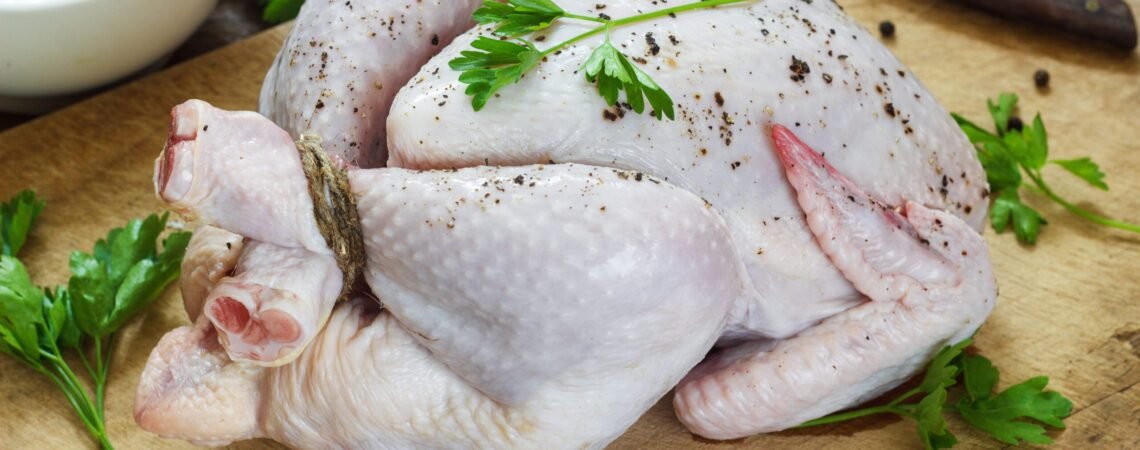
Once everything is removed, rinse the meat under cold water to clean the body cavity and remove any remaining blood, stray feathers, etc. It is recommended to soak the bird in a vinegar water bath for about a minute as a last step of cleaning and for tenderizing the meat. Finally, cut the chicken into desired portions or keep it whole, package the meat appropriately, and place it in the freezer. Don’t forget to mark your processing date and rotate your stock!